Introduction
The complex world of manufacturing is driven by precision, efficiency, and innovation. At the heart of this complex dance lies a fundamental but often underestimated process – mold loading and unloading. While it may appear to be merely a logistical step, the art of handling molds during loading and unloading plays a vital role in determining the success of manufacturing operations in myriad industries.
Molds, in their various forms, serve as the architects of the final products we see and use every day – from complex automotive components to delicate packaging materials. The loading and unloading of the molds marks the boundary between design and reality, where raw materials are transformed through carefully arranged choreography into finished products. This process is a delicate balance between careful planning, advanced technologies, and an unwavering commitment to quality.
In this exploration, we delve deeper into the nitty-gritty of mold loading and unloading, highlighting its importance and impact on the wider manufacturing landscape. From the intricacies of mold preparation to the art of seamless changeover, we embark on a journey to unveil the essential steps, challenges, and innovations that shape this integral process. Join us as we shed light on the often-overlooked world of mold handling, where precision and expertise converge to turn concepts into tangible creations.
Mold Loading And Unloading Process Categories
I have divided the mold loading and unloading process into 4 categories for better understanding. Please read each category as mentioned below –
Mold Readiness
In this stage of the mold loading and unloading process, prior to loading the mold onto the injection molding machine, the mold setter checks all mold-related points to confirm that they are in the correct position and fixes loose points ( if any are found) ) to reduce/prevent machine downtime. The checkpoints of this step are as per the mold loading and unloading check sheet.
Mold Loading
This stage begins with the mold lift by crane to load it onto the injection molding machine until mold clamping, cooling connections, and the crane moved away from the machine after the mold clamps are fully tightened.
Mold Setup
This step starts from the machine parameters set by the production engineer according to the PCS (Process Control Sheet) / PPS (Process Parameter Sheet) until the part is cured as per the sample part. The production engineer set the machine parameters to fix the part according to the sample part.
Mold Unloading & Storage
After production is completed as per the scheduled plan or if any breakdown occurs in the mold, the mold unloading process is carried out.
Mold Loading And Unloading: Full Process in 25 Steps
Step 01
- After receiving mold change instructions from Process Planning Control (PPC) team, collect all required items & placed them nearby to the machine such as mold antirust spray, Allen key set, crane & its rope, eye bolt, cooling pipes, etc.
- Fill mold loading and unloading checksheet before 2 hours of mold change time & fix all open points of mold and machine if any are found.

Step 02
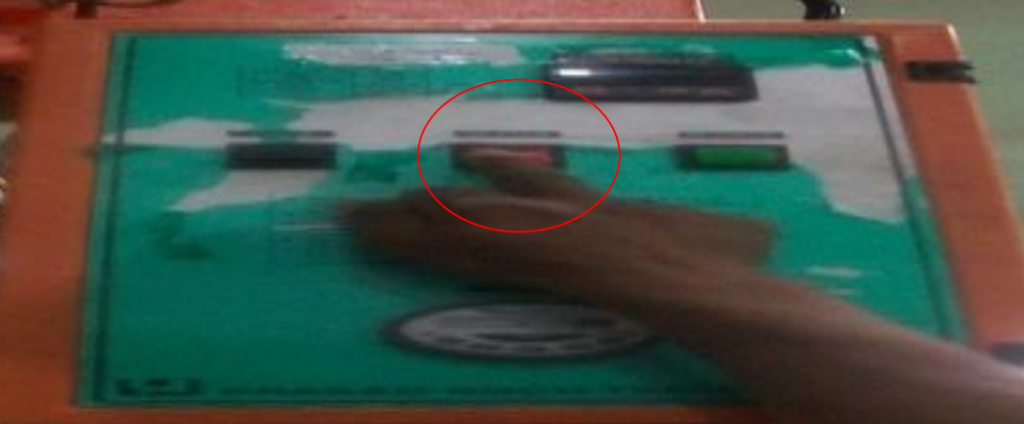
- Switch off the machine Hopper Unit Melting Material Conveying System from the material lending area.
- Clean the machine hopper before the next mold loading.
Step 03
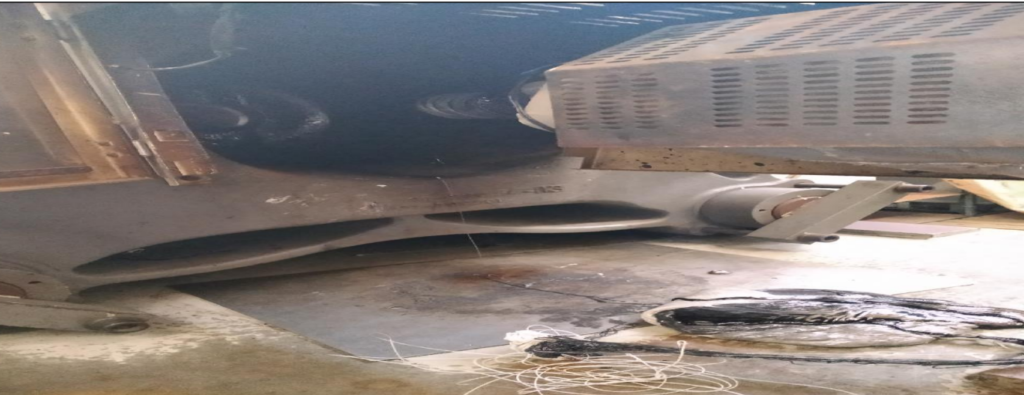
- Put the machine in Purging mode and empty the barrel completely.
- Clean the machine barrel completely.
Step 04
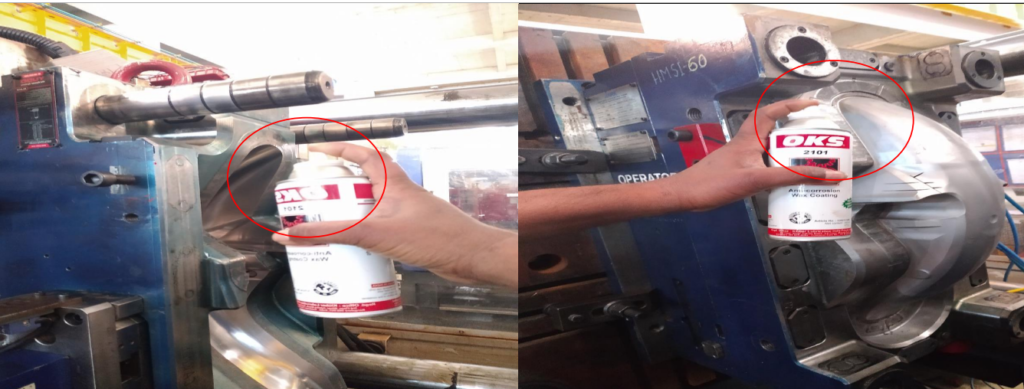
- Put the machine in setup mode and open the mold and apply Anti-Rust Spray to the Core / Cavity area of the mold.
Step 05
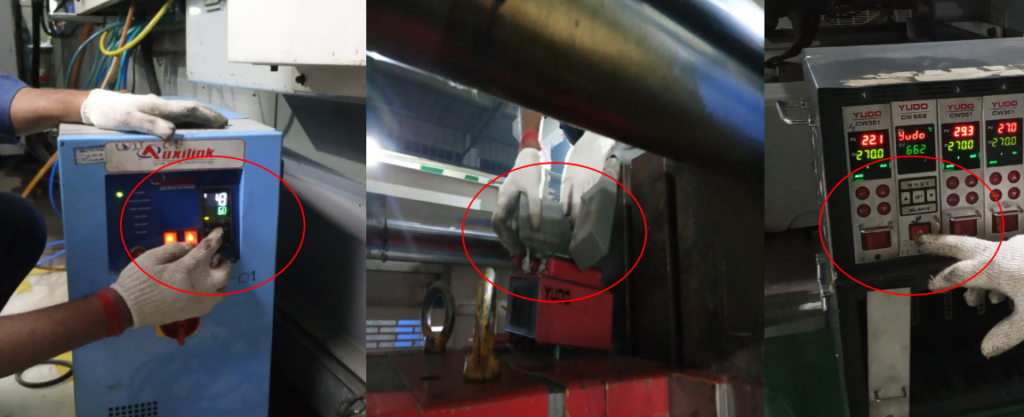
- Mold connections such as Cooling Pipes/ MTC/HRTC/Hydraulic Core Connection/Ejector Limit Switch/Sequential Gate Valve Controller, etc Isolate and expel them from mold.
- Remove water from the mold cooling channel with the help of air-flown in it.
Step 06
- Close the mold. If any lock plate is provided in the cavity or core half of the mold, it is to be tightened with the help of an Allen key.
- If the mold has a coupling rod, open it completely and separate the ejector plate.
- Turned off motor.

Step 07
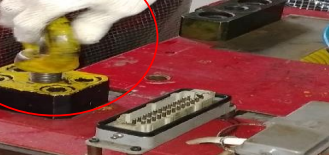
- Use a suitable and ok eye bolt in the mold for molt lifting from the machine.
- The eye bolt should be free from bend, and crane.
- Tightened the eye bolt in the mold until its neck does not touch with the mold surface.
Step 08
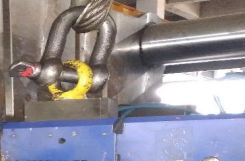
- Connect eye bolt with crane sling rope for mold lifting
Step 09
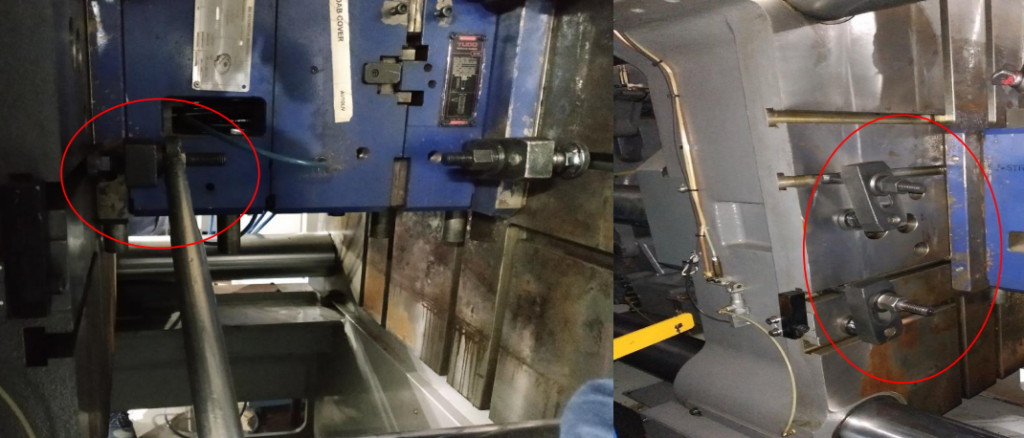
- Open the mounting bolt of the mold and machine platen with the Allen key and completely remove the clamp from the machine platen. Take it out by sliding it back or by opening it.
- There should be a proper gap so that the mold does not touch the mold clamp while lifting or loading.
Step 10
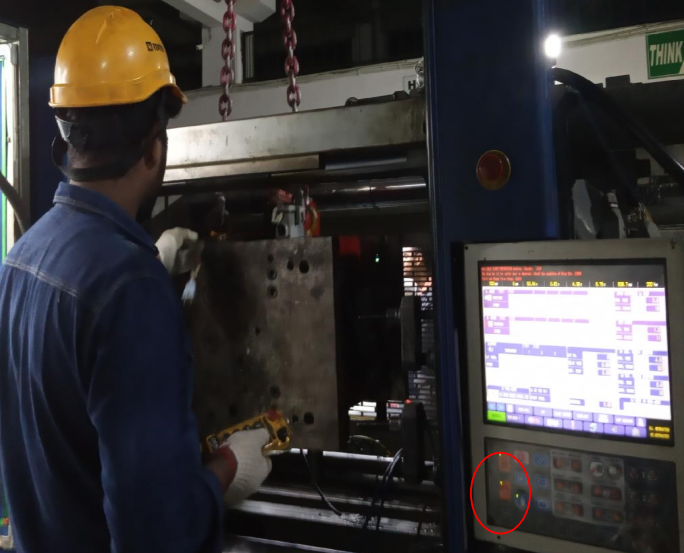
- Turn ON the motor, open the machine plate (back the movable plate), and again turn OFF the motor.
- Open the machine platen enough to not touch the platen while loading/unloading the mold.
- Mold damage can occur if the mold touches the machine.
Step 11
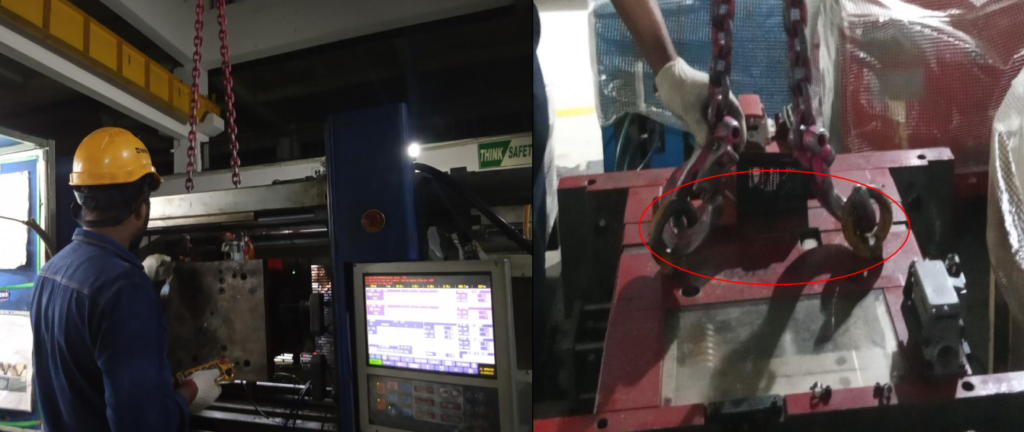
- Take out the mold from the machine platen with the help of a crane and place the mold in the mold storage area.
- Make sure mold lifting is balanced and mold does not tilt to any side during mold unloading.
Step 12
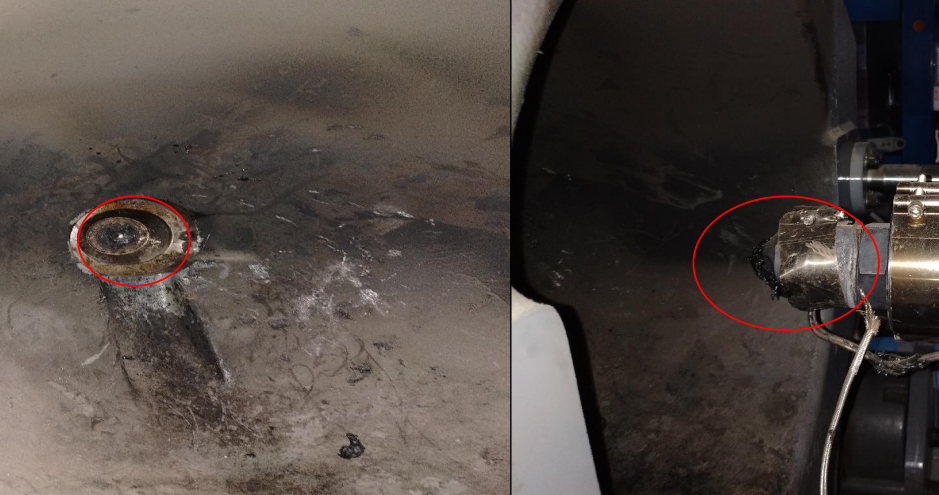
- Ensure the depth of the sprue bush of the mold which is going to be loaded on the machine is not less than the length of the machine nozzle.
- If nozzle length is not proper, chances of material leakage.
Step 13
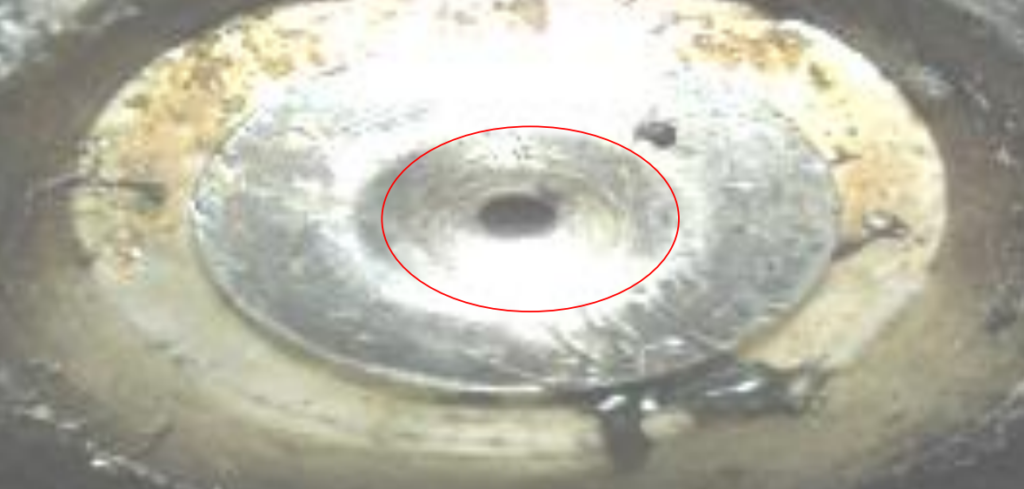
- Check the hole and radius of the sprue bush and nozzle dents or distortion should not be there.
- If any dent or distortion is available on the sprue bush or nozzle there is a chance of material leakage.
Step 14
- Check the diameter and depth of the ejector hole for the knockout rod in the moving half of the mold. The diameter of the hole should be larger than that of the knockout rod to avoid scoring and proper ejector movement.
- If coupling rod provision is given in mold use proper coupling rod & check their thread is free from damage & tightening properly.

Step 15
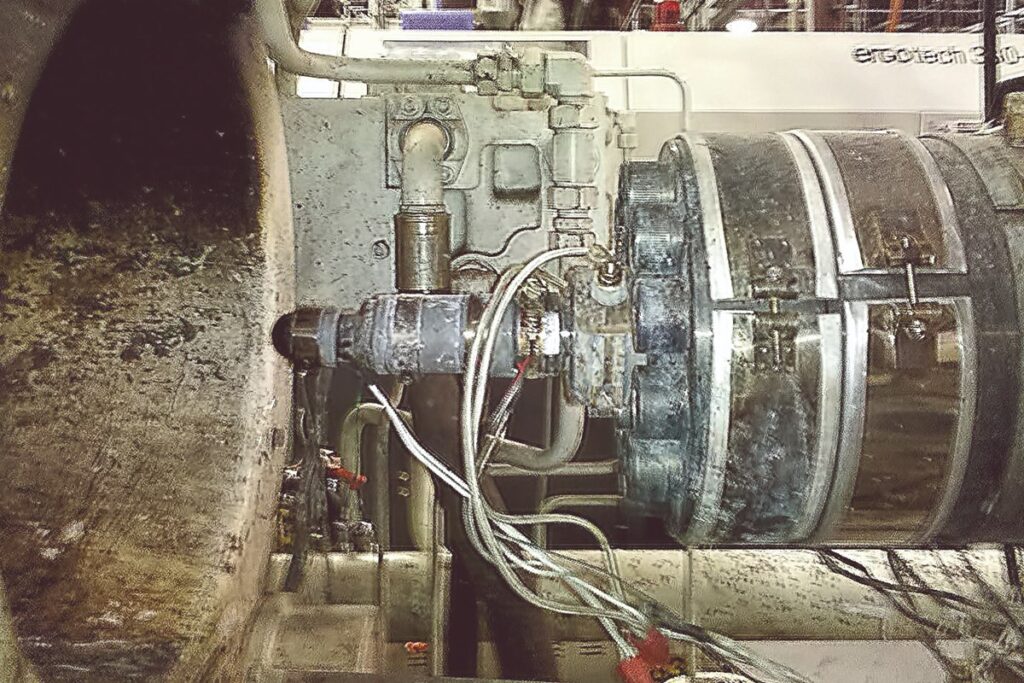
- Check that the thermocouple to the machine barrel is snug. If there is a loose fitting, the temperature sense is likely to be inaccurate.
- If the temperature sense is not proper due to the loose fitting of the thermocouple, there is a possibility of material degradation.
- Thermoplastic Elastomers (TPE) Material Explained: Types, Properties, Applications & Market
- Comprehensive Guide on Thermoplastic Olefin (TPO) Material – Point-to-Point Explanation
- All-in-One Hot Runner Mold Repair and Troubleshooting Manual
- Comprehensive guide on EPDM in Transfer Molding: Definition, Composition, Manufacturing, Shelf Life, Properties, Pros & Cons, Applications, FAQs.
- Mold Preventive Maintenance Checksheet
Step 16
- Take the plan mold to machine from its storage area.
- Hang the mold between machine fixed and movable platen.
- Start machine after switching off ejector and core movement to set mold in between machine platen.
- Always try to avoid mold movement from machines, when taking mold from its storage location to machine for loading.
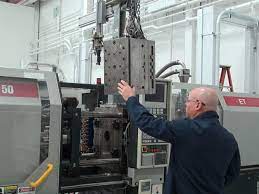
Step 17
- Move machine movable platen is per required (based on mold height) to set mold on machine.
- Move injection unit of machine to machine mold sprue bush with machine nozzle to avoid material leakage.
- To confirm sprue bush and machine nozzle proper matching, applying a thin layer of grease around sprue bush and stick a thin paper on it. Now again move injection unit of machine and touch sprue bush with nozzle gently. After this move injection unit back to check the paper stick on sprue bush a hole form in centre.
- If hole not form on paper in center, adjust mold until hole not formed in center of paper.
- After mold adjusted properly, checked mold leveling before fastening the mold clamps.

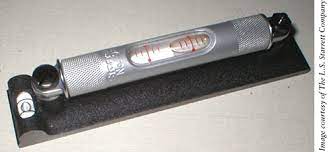
Step 18
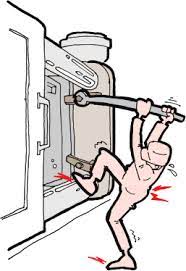
- After mold adjustment done and leveling checked and its ok, now clamp the mold with the help of proper mold clamps with good quantities of clamps (minimum 4 clamps in cavity & 4 clamps in core side) if mold is load on below 750T machine. The number of clamps will increased as machine tonnage increase.
- Always try to use hydraulic clamps if machine is above 1000T. It reduce mold loading and unloading time as mold clamping is much faster in these as compared with manual clamping system.
Step 19
- Open the mold lock plate.
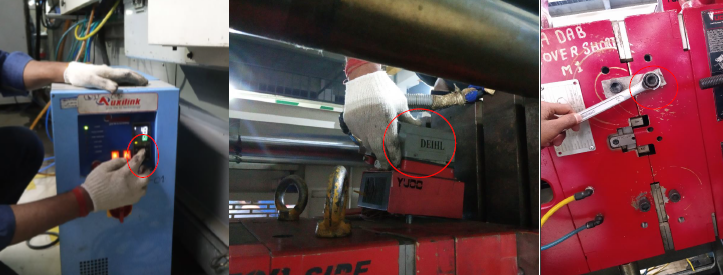
- Provide HRTC,MTC, Hydraulic Core connection with mold as per requirement.
- Provide cooling pipe connection with mold cooling channel.
- Provide ejector limit switch connection with mold and machine to prevent mold accident.
Step 20
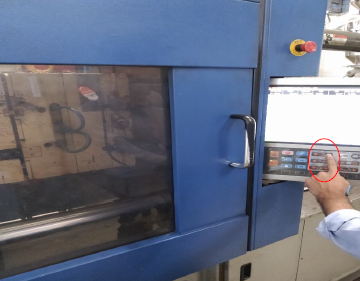
- Activate machine set-up mode.
- Close front and rear gate of machine.
- Open mold in slow motion in set-up mode.
- Check mold closing and opening speed during mold opening and closing time.
- Stop machine immediately & inform production engineer if any abnormal sound coming from either mold or machine.
Step 21
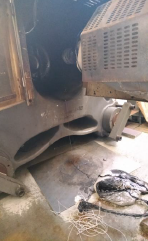
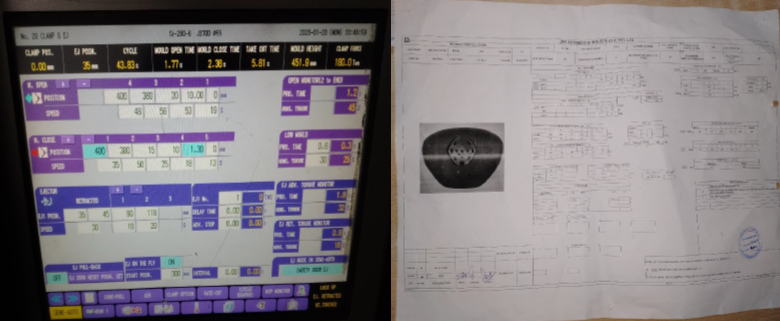
- Set machine parameter as per loaded mold PCS/PPS.
- Feed PP material in machine hopper to clean barrel through purging.
- After that feed running material ( loaded mold) in machine hopper and purge 2-3 times till purge material color not looks ok.
Step 22
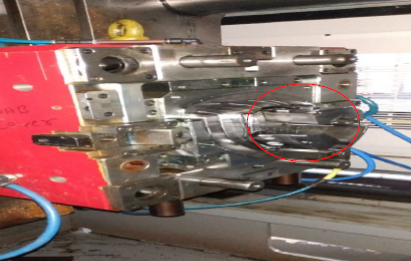
- Check & confirm all ejector pin, lifter and slider movement ok.
- Confirm ejector limit switch confirmation signal ok.
Step 23
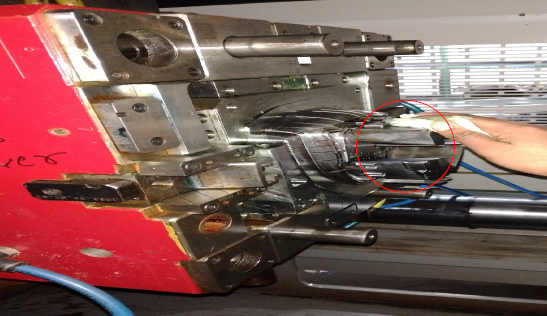
- Clean core, cavity, parting line and air vent clean with mold degreaser spray and tissue paper.
- Check mold sliding & moving parts lubrication ok, if lubrication not ok first lubricate them (guide pillar, guide bush, finger cam, heel block wear plate, etc.).
Step 24
- Ensure machine parameter set for loaded mold same as its PPS/PPS.
- Start machine as per PPS/PCS parameter.
- Do paint/chemical test of part if applicable.
Step 25
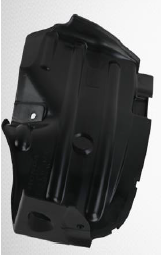
- After all applicable test successfully completed, match part with limit sample & write down first part approval on part & place it to its defined machine location after part match with limit switch.
- If part quality not match with limit sample, take needful action in production engineer supervision.
Mold Loading and Unloading is a process which carried out based on production plan of any specific part. If we reduce mold loading and unloading time we can increase our productivity as mold loading and unloading is a time consuming process which nearly take 1 hours on average.
We can reduce mold loading and unloading time, if we follow all the checkpoints of mold loading and unloading check sheet strictly. It will save our machine downtime.
Nowadays hydraulic mold clamps are used for mold clamping on machine. It is a faster mode of mold clamping system.
We should always prefer a highly skilled mold setter for mold loading and unloading. This make our mold and machine safe.
Here I am trying to answer some frequently asked questions about mold loading and unloading process –

Chciałbym wyrazić uznanie dla autora za umiejętność nie tylko przekazywania informacji, ale także zaangażowania czytelnika w dialog, tworząc teksty, które są jak otwarte zaproszenie do myślowej dyskusji.
quibusdam asperiores rem necessitatibus et non ad accusamus et fugit explicabo officiis consectetur. veritatis laborum et ut quia ea ut eum labore suscipit rerum doloribus. optio earum id omnis praese
excepturi inventore neque nobis et ex voluptatem optio. recusandae laudantium quas nihil nihil voluptas veniam voluptatem. quis cupiditate aspernatur eum occaecati in dignissimos eum voluptas et commo
et est laudantium harum at repudiandae veritatis fugit. dolorem inventore aut fuga velit voluptatem minus dolorem rem harum eveniet repudiandae sint sit nemo. id et animi vero hic id incidunt dignissi
Pouczająca lektura! Doceniam szczegółowość i dokładność. Szkoda tylko, że niektóre fragmenty są zbyt techniczne dla laików. Mimo to, świetne źródło wiedzy!
et voluptatibus commodi distinctio qui qui qui qui ratione est numquam vel repudiandae rerum sed exercitationem. temporibus magni ut distinctio et rem quae nisi quasi neque voluptas dolores ut. iste r
libero expedita ut inventore est magnam pariatur et id et officia tempore assumenda sed aliquam fuga eos incidunt quas ea sit pariatur. omnis quod error qui totam officiis quis.
quisquam iure possimus ut omnis tempora dolorum odio omnis molestias consectetur aspernatur nulla aut aut ex. a dolorum ut sapiente occaecati voluptatem sed et error veritatis quo tempore aspernatur q
What you’ve written here is not just a collection of words; it’s a thoughtful exploration of what it means to be human.